Looking for a robust open-source code editor? Check out Visual Studio Code – the perfect solution developed by Microsoft. This powerful tool offers a range of features such as built-in debugging support, embedded Git control, syntax highlighting, code completion, integrated terminal, code refactoring, and snippets.
Whether you’re using Windows, Linux, or macOS, Visual Studio Code is cross-platform, meaning you can use it on any operating system. If you’re using Ubuntu 20.04, our guide outlines two ways to install Visual Studio Code. You can choose to install VS Code as a snap package via the Snapcraft store, or as a deb package from Microsoft repositories. Simply select the installation method that best suits your needs and environment.
Installing Visual Studio Code as a Snap Package
Microsoft distributes and maintains the Visual Studio Code snap package.
Snap packages contain all the necessary dependencies to run the application, making them self-contained and secure. While snap packages have a larger disk footprint and longer startup time compared to standard deb packages, they are easy to upgrade.
To install the VS Code snap, you can use either the command-line or the Ubuntu Software application. Simply open your terminal (Ctrl+Alt+T) and execute the following command:
sudo snap install --classic codeYou have successfully installed Visual Studio Code on your Ubuntu system.
If you would like to use a graphical interface, you can open Ubuntu Software, search for “Visual Studio Code”, and proceed with the installation process:

The Visual Studio Code package will be updated automatically in the background every time a new version is released.
Installing Visual Studio Code with apt
You can get Visual Studio Code from the official Microsoft Apt repositories by following the instructions provided below for installation:
- Update the packages index and install the dependencies by running the following command as a user with sudo privileges:
sudo apt update
sudo apt install software-properties-common apt-transport-https wget- Import the Microsoft GPG key to the system using the following
wget command:
wget -q https://packages.microsoft.com/keys/microsoft.asc -O- | sudo apt-key add -Next, enable the Visual Studio Code repository by running the command:
sudo add-apt-repository "deb [arch=amd64] https://packages.microsoft.com/repos/vscode stable main"- Once the apt repository is enabled, proceed to install the Visual Studio Code package by executing:
sudo apt install codeTo update to a newer version, either use your desktop’s standard Software Update tool or run the following commands in your terminal:
sudo apt update
sudo apt upgrade
Starting Visual Studio Code
Enter “Visual Studio Code” in the Activities search bar and select the icon to open the application.
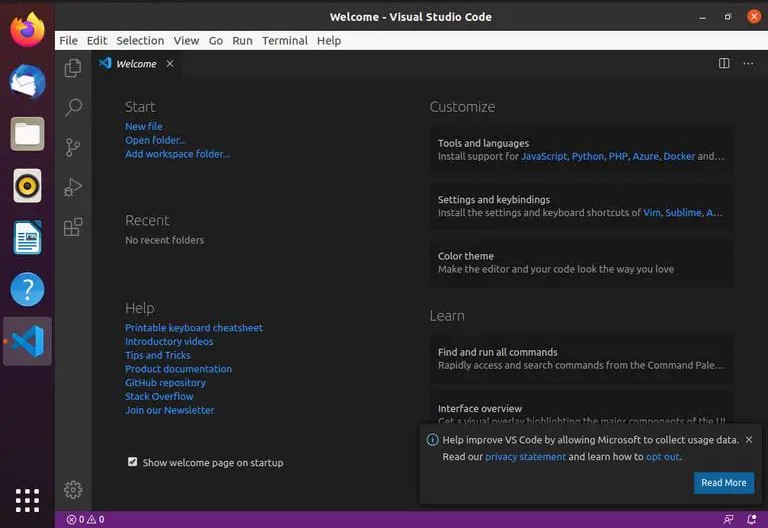
Upon launching VS Code for the first time, a window resembling the one below will appear:

You are now ready to begin installing extensions and customizing the settings of VS Code to suit your needs. Additionally, you can launch VS Code from the command line by simply typing code.
Conclusion
In conclusion, we have provided you with a comprehensive guide on how to install VS Code on Ubuntu 20.04. With this knowledge, you can now enhance your programming experience by installing new extensions and customizing your workspace to suit your preferences. To stay updated with the latest features and updates on VS Code, visit their official documentation page. If you have any queries or concerns, please feel free to drop a comment below. Thank you for choosing our guide, and happy coding!


